Humble Beginnings...
Once we decided to add rabbits to our farm, a search began. What breed; or breeds? How many? Where to house them? These are all questions someone setting out to start a rabbitry should consider. We watched youtube, read books, and blogs, and began looking at other rabbitries' websites.
|
It didn't take us long to fall in love with the silver fox breed. They have a unique look, are a heritage breed, and are in need of more breeders as they recover from an endangered status.
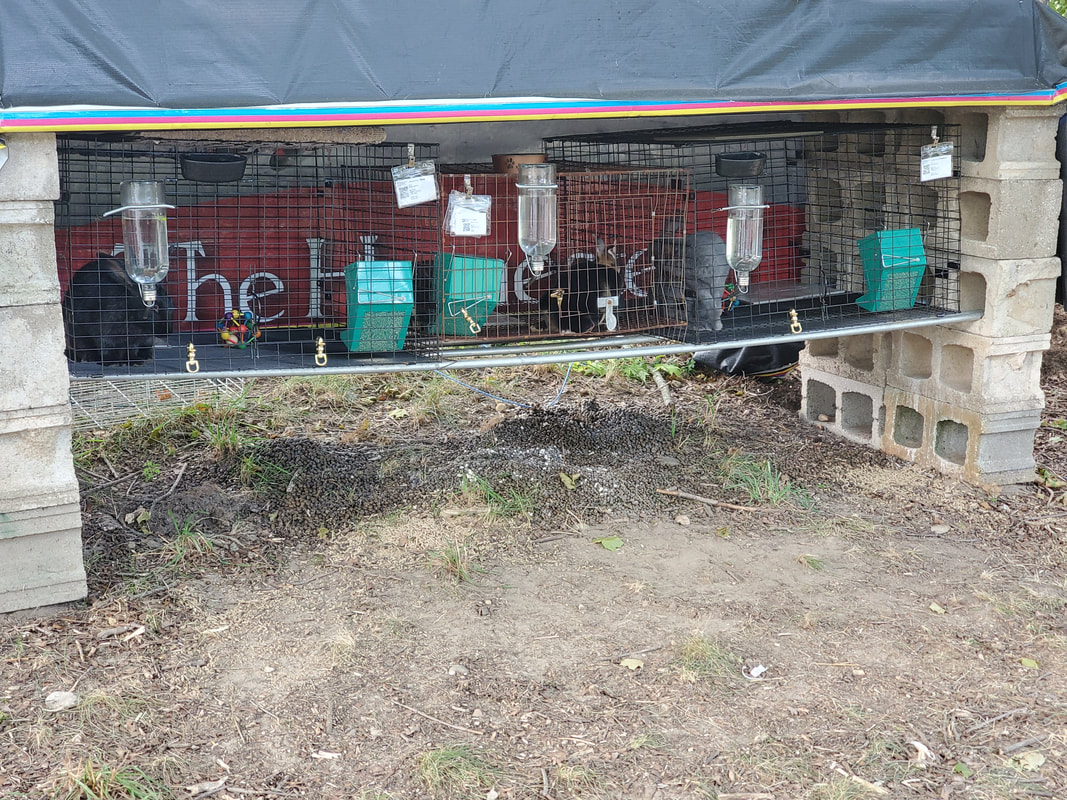
As is often the case in farming we faced a what came first conundrum. We had located a silver fox breeder, and arranged to purchase two bucks from her, however we did not yet have a home for them. Our first hutch was made up of two cheap cages from Tractor Supply, some spare cement bricks, a few pieces of electrical conduit, and a tarp to keep the rain off. We built this under a large maple in the front yard. Shortly there-after my son and daughter (8 & 6) also caught rabbit fever and a third cage followed housing 3 Mini Rex does. |
Preparing for the Future...
|
Now, of course, 2 silver fox bucks and 3 mini rex does does not a rabbitry make. In fact, I am sure that the rabbit breeder community would promptly disown me if I tried crossing these two breeds. I knew I wanted to focus on the silver fox, both for the quality of the breed, and for meat production. So plans where made, material acquired, and construction began on a ~200 sq ft rabbit barn next to my greenhouse.
|
The Future Now...
Construction began, skids where leveled, a floor was laid and painted. I received notice that some silver fox does I had inquired about over a month before where now ready to be sold. Also, about this time, my always supportive wife truly got into things. A talented crafter, she desired to take up spinning. So french angora joined our list and the following week we picked up two silver fox does, 2 french angora does, and a french angora buck from a total of three different breeders in one long day.
|
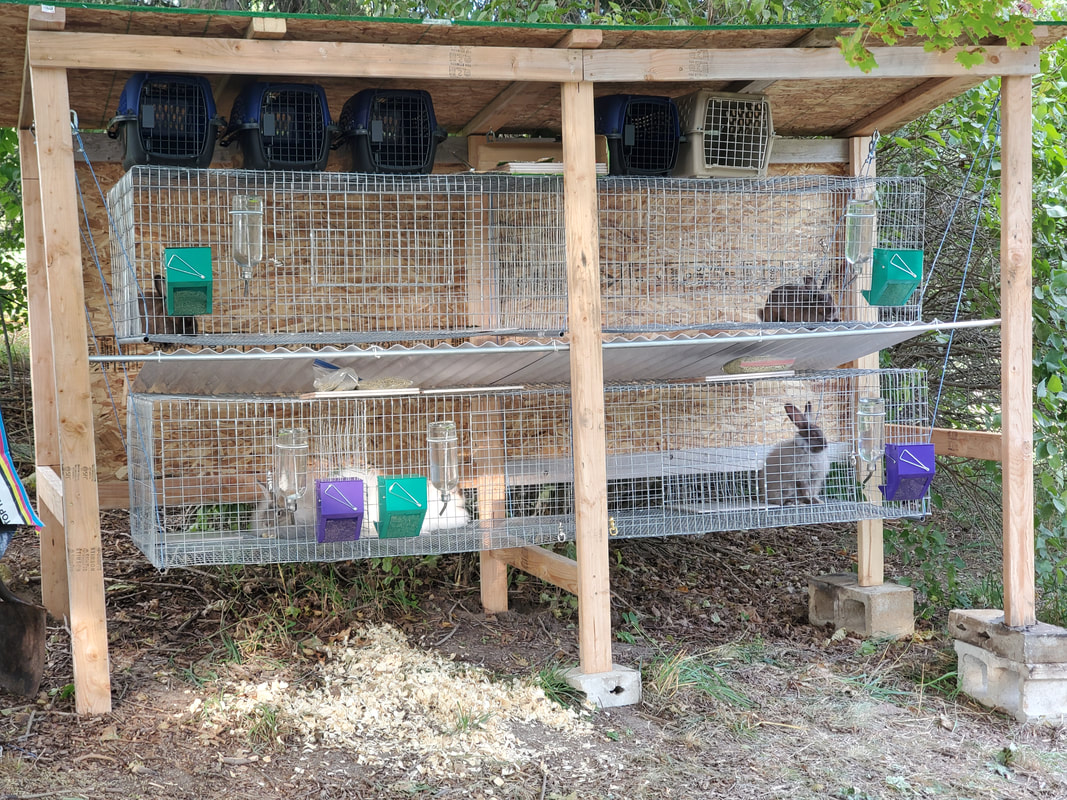
Once again, however, that chicken and the egg problem cropped back up. I think it is just an unrealized truth in farming that we all just live with. But I digress, a new shelter was required to house our growing herd while their home was under construction. So a new hutch was quickly constructed out of left over lumber from several other projects.
This hutch I knew would be around for a while. With the expanding herd, I knew my planned barn was no longer going to be large enough and we would need more space for grow outs. So this hutch was built with all the bells and whistles. It has two levels of hung cages. A PVC dropping slide keeps things sanitary. A metal roof and 2 coats of paint will be added in the near future to complete the hutch. Assembled nearly overnight, it was ready for move in day. |
Finally an actual barn...
|
Late in the fall, rushing to beat the first snows, shell of the barn was completed. We chose a traditional gambrel style roof for the extra storage the lofts would provide. The roof itself was done in metal. We chose to insulate the entire barn. It is our hope to run frost watch (38°F) in the winter and slight cooling (>85ºF) in the summer.
|
|
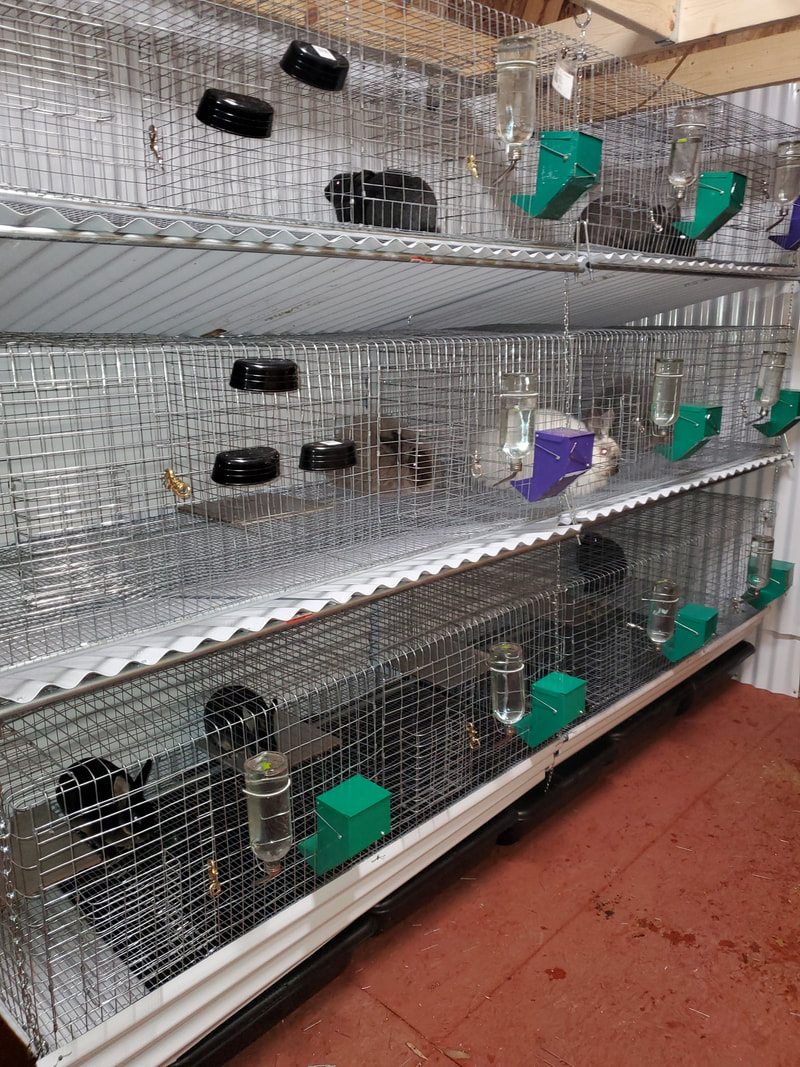
Inside the barn we sheeted the walls with a corrugated PVC paneling. The same paneling was used to make dropping slides for under the cages. Cement mixing tubs serve as our collection vessels. They can easily be removed and dumped on the compost pile regularly. It is difficult to see, but one foot above the floor is a "kicker" where the paneling curves out ~4in to push falling droppings into the tubs and keep the droppings from piling up on the wall.
The cages are 30x30x18. They are made in 5 foot "double cage" sections which are hung from the loft joists. Each cage has a dedicated water bottle, "J" feeder, and water dish (for winter). Once we have heat available, we plan on installing a water system. On the opposite wall are the grow out cages. These are 30x60x18 and have a similar waste system. These cages are built with a swing down central divider. This allows the cages to double as Jr. cages for sales, or new stock. Finally in the corner to the left (next to the cages shown) are the buck cages. These are built the same way as our standard double cages, except they have a solid partition between them to control spray. We plan to add vinyl flooring to this barn as well. We will wrap it up the side of the wall making the lower level water tight for easy, "hose out", cleaning. |
In close...
Thank you for your interest in our rabbitry. If you have any questions about our setup, or the specifics of the products we used, please feel free to contact us. We hope this brief glimpse into our journey and setup helps or inspires.


